

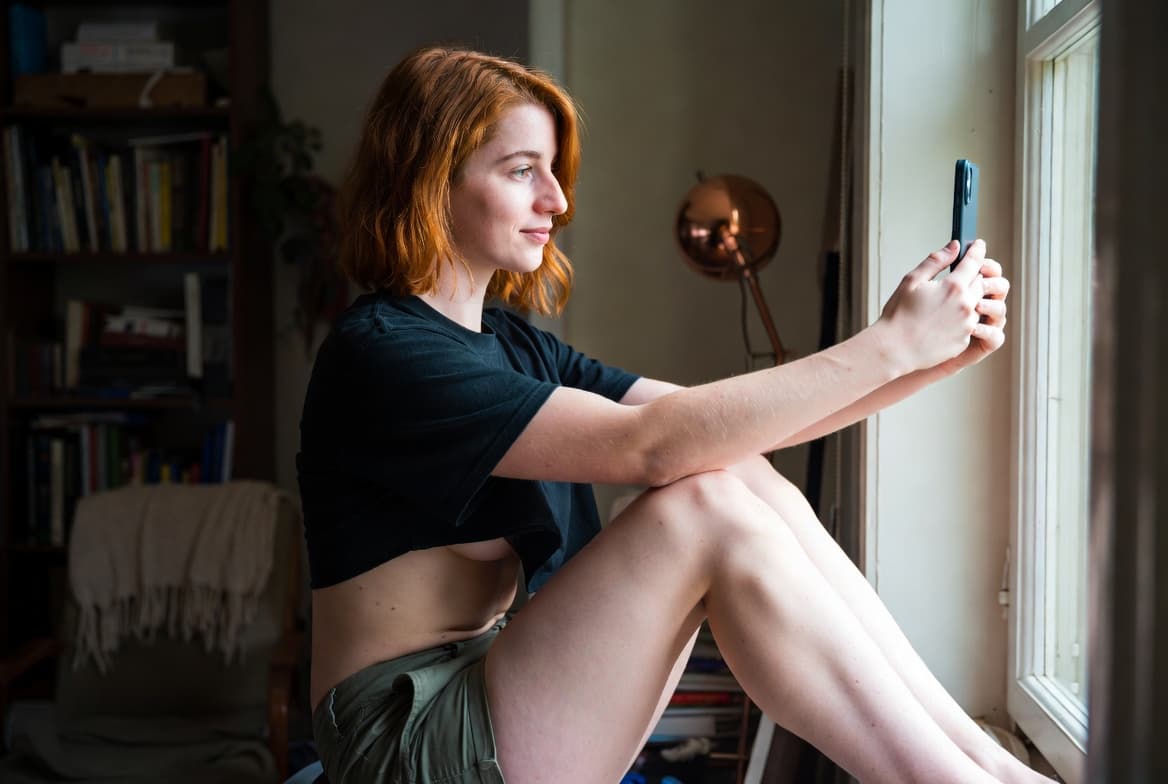
Better phone photos that don't look like it
Better phone photos without new gear: how to spot a phone photo instantly, six settings that actually help, and the distance trick that changes everything.
Modern phone cameras are technically better than what magazines were shot on twenty years ago. And yet you can usually tell a phone photo is a phone photo at a glance. That has less to do with the hardware than with three default settings that every manufacturer sets roughly the same way, and one habit almost everyone has when shooting.
Better phone photos are therefore mostly a question of turning off a few automatic settings and taking one step back.
How you can tell it's a phone photo
The nose looks too big. This is the most common effect and the least understood. The default lens is a wide angle, and wide angle enlarges whatever is closer to the camera. At arm's length that means: big nose, small ears, domed forehead. It's not you, it's the lens.
Everything is equally bright. Auto mode lifts shadows and dampens highlights so something is visible everywhere. The result is an image with no depth that looks like it was shot through frosted glass.
The skin is too smooth. Many cameras smooth and sharpen automatically afterward. Pores and fine hair disappear, while edges get a hard rim. That's the look people describe as "phone-like" without being able to say exactly why.
There's noise in the dark areas. Small sensors need a lot of light. When it's missing, the signal gets boosted electronically, and you see it in every shadow area.
Six settings that actually make a difference
- Use the second lens. Almost every current device has a telephoto lens next to the wide angle, often labeled 2x or 3x. It doesn't distort and shows proportions as they are. This is the single most important change of all.
- Turn off beauty and smoothing. Usually called beauty mode, skin smoothing or similar, and usually switched on by default. Without it, skin looks more alive.
- Pull the exposure down slightly. After tapping the focus point, a slider appears. Nudge it a touch into the minus. A slightly underexposed image can be rescued, blown-out white cannot.
- Highest resolution, no digital zoom. Digital zoom is just a crop with quality loss. If you want to get closer, step closer or switch to the telephoto lens.
- Turn on the grid. Two vertical lines, two horizontal ones. It helps against crooked horizons and against always putting the subject dead center.
- Set focus and hold it. Tap and hold locks the focus. Otherwise the camera keeps hunting with every movement and gets the wrong thing at the moment that matters.
The distance trick
This is the point that turns a phone photo into a photo.
Instead of getting close and shooting wide, step two to three steps back and get your framing from the telephoto lens. The framing ends up the same, but the effect is completely different: proportions look right, the background feels closer and calmer, and the separation between subject and background looks natural instead of cut out afterward.
If your device has no telephoto lens: shoot from further away at full resolution anyway and crop afterward. That costs you pixels and is still better than the distortion from close range.
Stable is more important than expensive
Most blurry images aren't a focus problem, they're a shake problem. Three fixes, all free:
- Rest the phone on, against or leaning on something. A stack of books is a tripod.
- Use the self-timer, even if you don't want to be in frame yourself. Pressing the shutter is the most common source of shake.
- Use burst mode and pick out the sharpest shot afterward. With movement, that's the only reliable way.
Editing without it showing
Less is genuinely more here. Four sliders cover almost everything: exposure, contrast, white balance, saturation. In that order, in small steps.
What to leave alone: skin smoothing, blur, heavy filters. Those are exactly what turns the image back into the typical phone look described above. Visible skin texture is not a flaw, it's the difference between a photo and an illustration.
And one last look: view the result on a different screen. An image that looks great on your phone at full brightness can look noticeably too dark on a laptop.
Why this is worth money right away
For previews, this matters most: that's the only impression someone gets before deciding to buy. On top of that, previews get downscaled and pixelated on our end, and a cleanly shot image keeps noticeably more of itself through that reduction than a shaky one does. Light is the second lever, and it's covered in Natural light photography: no studio needed.
Honestly: technique alone doesn't sell anything. A technically perfect image of something nobody was looking for stays unsold. What else it depends on is in Why your Drop is not selling.
If you feel like showing your shots
A few clean images are enough to start, and you decide yourself what anyone gets to see. Sign up for free.
Frequently asked questions
Only once the points above are covered. A phone with good light and the right distance clearly beats a system camera under a ceiling light.
Two reasons. The mirror shows you flipped, which you're used to seeing. And the front camera is a wide angle at close range, which distorts proportions.
Only if you actually edit afterward. Otherwise, auto mode with beauty effects turned off gives the better result for less effort.
More light. Everything else is damage control, and noise reduction eats exactly the detail that makes an image feel alive.