
Posing for photos: what actually works
Posing for photos that don't look posed: why the camera sees differently than the mirror, three basic rules, and the three spots where it usually falls apart.
Posing for photos always starts the same way: it looks good in the mirror and stiff in the photo. That's so common it's almost a universal experience, and it has a technical reason: the mirror shows you in motion and in three dimensions, the camera freezes a single moment and flattens it.
That's why posing for photos isn't acting, it's translation. Anything that creates depth has to be deliberately exaggerated, because the camera otherwise takes it away.
Three basic rules almost everything follows from
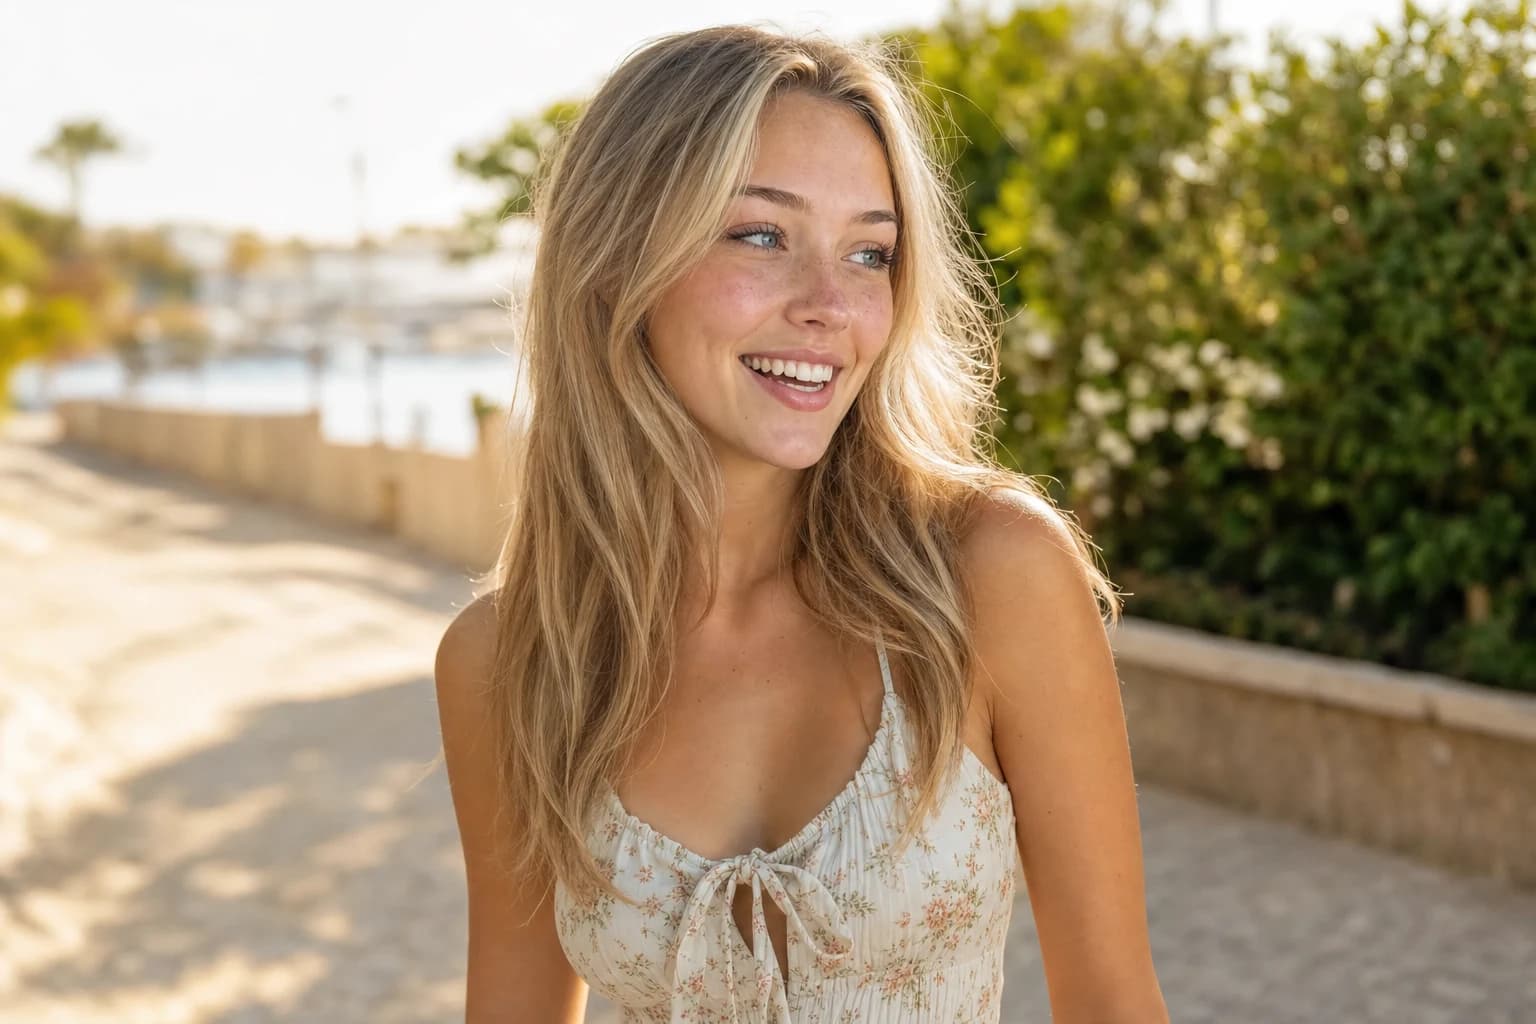
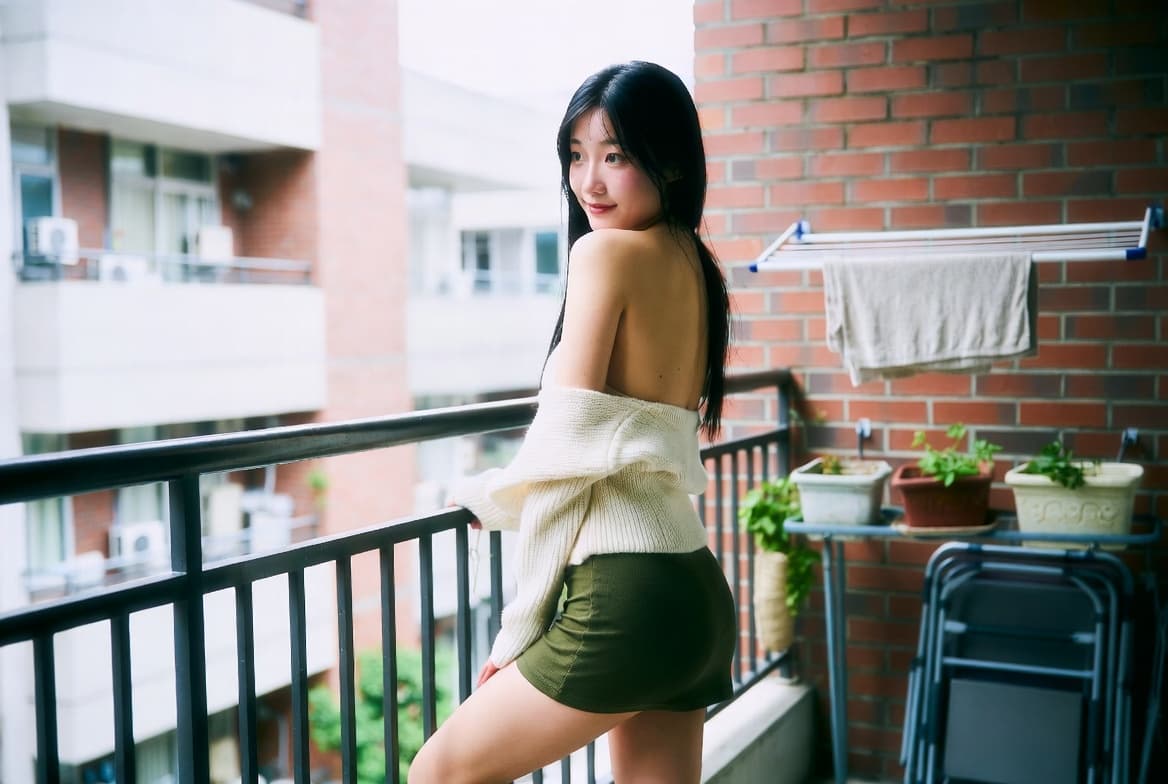
Angle instead of front-on. Standing straight-on to the camera makes you look wide and flat. Turn your shoulders about thirty degrees to the side and turn your head back toward the lens. That alone changes the result more than anything else.
Shift your weight onto one leg. The back leg carries the weight, the front one bends slightly. That tilts the hip, and the line of the body becomes a curve instead of a straight line. Sculptors have been doing this for over two thousand years, for exactly the same reason.
Create space between limbs and body. An arm resting flush against the torso merges with it in the photo and looks wider. A hand's width of space is enough to keep the silhouette readable. The same goes for legs pressed together.
That covers ninety percent of usable shots. Everything else is a variation on these three.
The three places where it falls apart
The hands. They're the most common reason a photo looks tense. Flat and stretched out with the back of the hand toward the camera, they look big and lifeless. What works: slightly curled fingers, the edge of the hand toward the camera, and always giving them something to do. Running through hair, holding fabric, leaning on something. A hand with a task relaxes on its own.
The chin. The reflex is to lift the chin. On camera that turns into looking up someone's nose from below. The right move is the opposite: push the forehead a little toward the camera and lower the chin slightly. It feels strange and looks right in the picture. That's a recurring pattern: what feels wrong often looks good, and the other way around.
The shoulders. Raised shoulders make the neck disappear and look tense. Take one deep breath, let the shoulders drop on the exhale, then shoot. That's why burst shooting works: the best shot is almost always the third or fourth, once the tension is gone.
Movement beats a held pose
The single most reliable trick in the whole thing: don't hold a pose, move slowly through it and keep shooting the whole time.
Turn slowly, take two steps, fix your hair, look away and back again. Out of twenty shots, one will look like it wasn't planned, and that's usually the best one. A held pose turns stiff after two seconds, and it shows.
Part of this is allowing yourself to sort through and cut. Keeping three out of twenty is normal work. Keeping all twenty out of twenty means you didn't actually choose.
Without a face, posture matters more
When the face isn't in frame, the body carries the entire statement. Then silhouette, line and hands matter even more, because there's nothing else for the eye to land on.
What helps: clear shapes instead of chance. A bent arm forming a triangle, a curved back, a clear diagonal in the frame. The eye looks for structure, and you have to build it deliberately, because the face would otherwise have supplied it. How that works content-wise is in Faceless content that still works.
What to plan before you start
Three to five poses in your head are enough for an entire session. Not more, or you'll be thinking instead of shooting.
- one standing, at an angle, weight on one leg
- one sitting, upper body leaned forward
- one lying down or propped up
- one detail shot, just a crop instead of the whole person
- one in motion, shot while you move through it
Take three to four shots between poses, then move on. That gives you material for several releases from a single session, and it keeps things short enough that it doesn't wear you out. Why that matters long-term is in How to Work as a Model Without Burning Out.
And the part no guide can replace
Poses only work as long as they fit you. Copied poses from someone else's photos almost always look copied, and it shows in the result. The point of the rules above isn't to force you into a shape, it's to give you a base you can build on until you stop having to think about it.
And what you do and don't do stays your decision, even when someone would pay for something different. All of that is in Setting limits: what you never have to take on.
Frequently asked questions
Because the mirror shows movement and the camera freezes a single moment. That's why it works better to move slowly and keep shooting throughout.
Give them a task. In the hair, on fabric, on an edge. Flat and stretched out with no purpose, they always look tense.
Plan on ten to twenty per pose. That's normal, not a sign you're doing something wrong.
As inspiration, yes. As a template, rarely. They're built for a specific person, specific light and a specific focal length.