
Buona luce per le foto, senza uno studio
Buona luce per le foto conta più di qualsiasi fotocamera. Gli errori più comuni, la finestra come studio e due aiuti che hai già in casa.
Se una foto sembra scadente, quasi mai dipende dalla fotocamera. Dipende dalla luce. Una buona luce per le foto è l'unico punto in cui, senza spendere nulla, si ottiene il salto più grande, ed è il punto in cui quasi tutte non fanno niente, perché pensano che serva attrezzatura.
Bastano una finestra, un lenzuolo bianco e circa venti minuti per vedere la differenza.
I cinque errori più comuni con la luce per le foto
La luce del soffitto accesa. La luce da sopra la testa proietta ombre nelle orbite e sotto il naso, e rende visibile ogni imperfezione della pelle che non vorresti mostrare. È la luce meno favorevole che una casa possa offrire, ed è quella accesa di default.
La finestra alle spalle. Sembra la scelta giusta, ma non lo è. La fotocamera si regola sulla finestra luminosa e scurisce tutto ciò che sta davanti. Il risultato è una sagoma scura.
Il flash. Il flash del telefono sta subito accanto all'obiettivo e colpisce il soggetto in pieno e frontalmente. Toglie ogni profondità e fa brillare la pelle. C'è esattamente un caso in cui aiuta, cioè all'aperto sotto il sole di mezzogiorno, come schiarita. Al chiuso mai.
Mescolare due temperature di luce. Luce calda della lampada più luce fredda del giorno danno un'immagine in cui metà viso è arancione e l'altra metà blu. Nessun bilanciamento del bianco può salvarla. O finestra o lampada, non entrambe.
Il sole pieno di mezzogiorno. Il sole diretto da sopra è duro, ad alto contrasto e spietato. All'aperto, l'ora dopo l'alba e quella prima del tramonto sono ciò che tutti intendono quando parlano di bella luce. Un cielo coperto, tra l'altro, è il softbox più grande che esista.
La finestra è il tuo studio
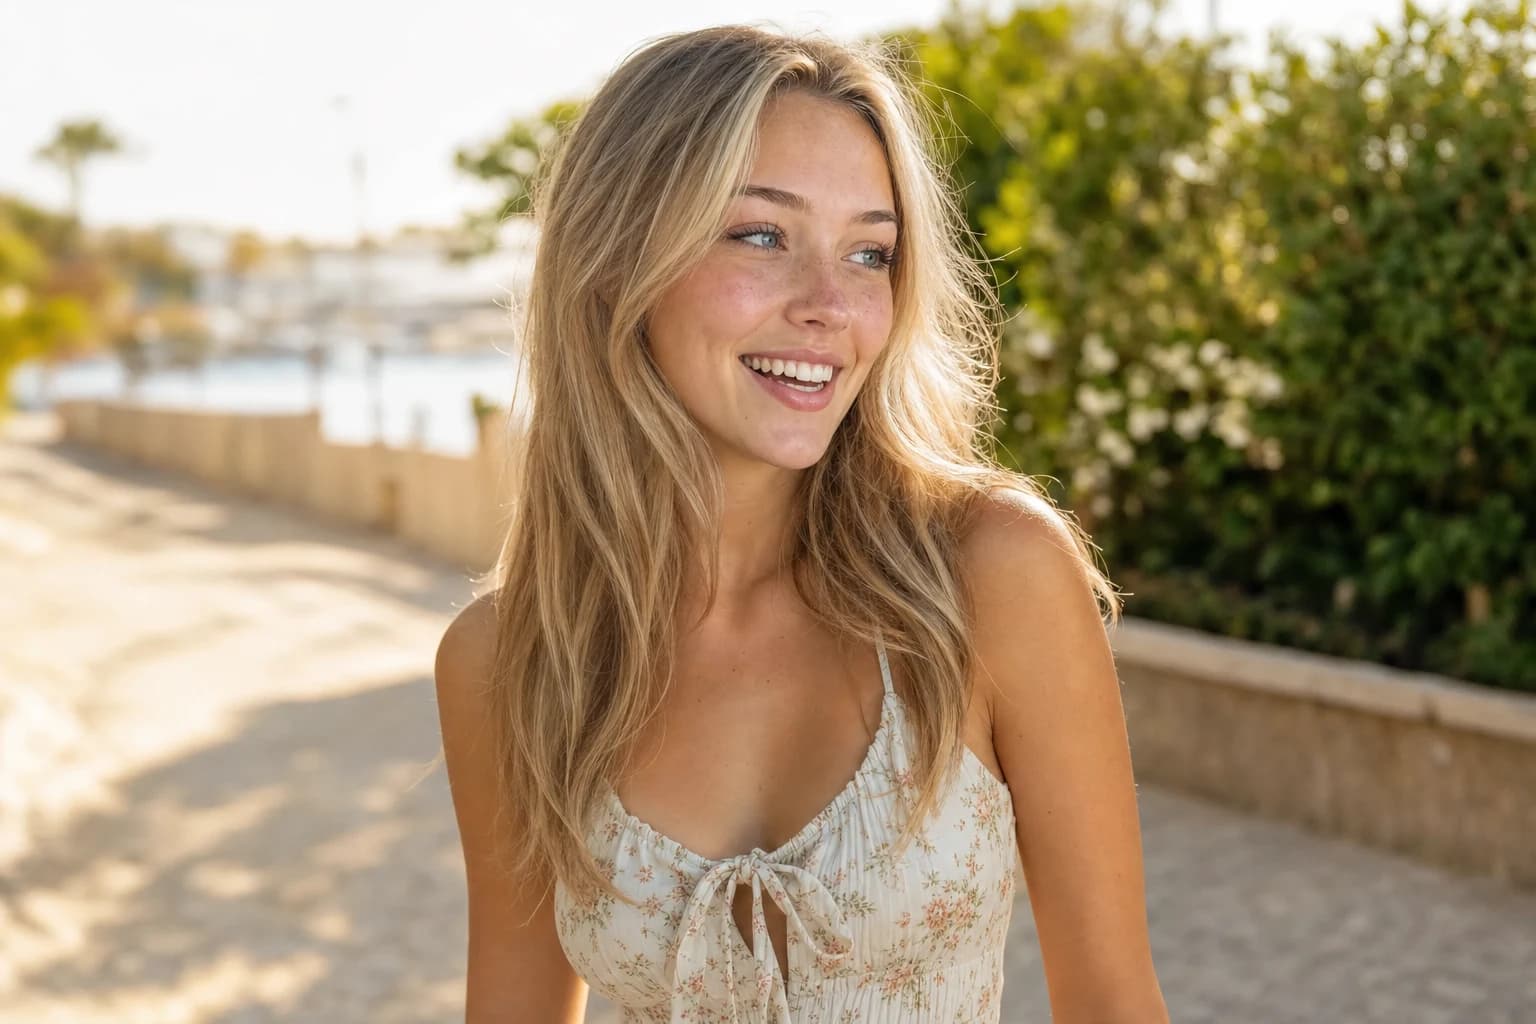
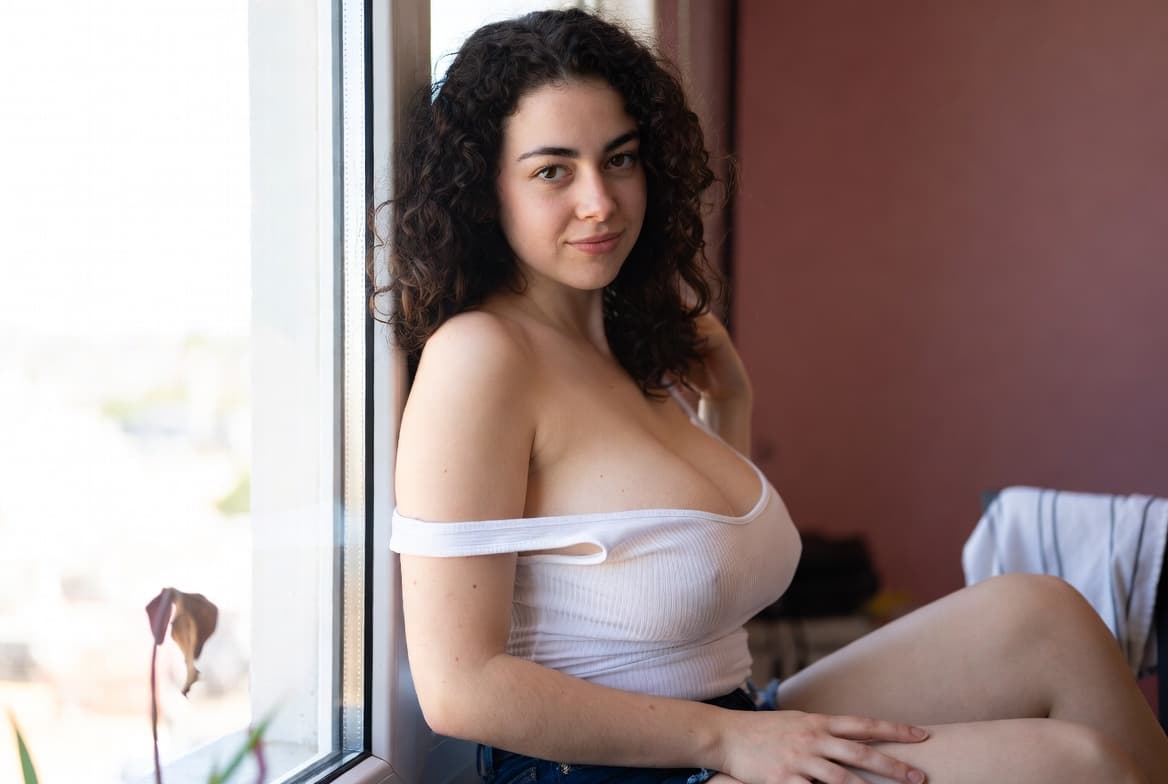
Mettiti di lato rispetto alla finestra, non davanti e non con le spalle rivolte. Circa a un angolo di quarantacinque gradi, così il viso ottiene un lato chiaro e uno leggermente in ombra. Proprio quel confine tra luce e ombra è ciò che dà volume a un'immagine.
La distanza decide la durezza della luce. Vicino alla finestra la luce è morbida e avvolgente, più lontano diventa più dura e contrastata. Se il risultato sembra troppo drammatico, fai un passo verso la finestra, non allontanarti.
Le finestre esposte a nord sono le migliori. Lì non entra mai sole diretto, ma sempre una luce uniforme e morbida. Se ne hai una, la scelta del punto è già risolta.
Il sole diretto nella finestra è troppo duro. Una tenda bianca davanti lo trasforma subito in luce morbida. Un lenzuolo bianco o carta da forno fissata con nastro adesivo al telaio fa esattamente lo stesso.
Due aiuti che trovi in casa
Lo schiarente. Sul lato opposto alla finestra si scurisce rapidamente troppo. Mettici qualcosa di bianco che rifletta la luce: un cartone, un asse da stiro con la fodera bianca, un lenzuolo teso. L'ombra diventa più morbida senza appiattire l'immagine. Va bene anche una coperta termica argentata, ma è decisamente più abbagliante.
L'oscurante. A volte succede il contrario, tutto è uniformemente chiaro ma per questo anche piatto. Allora metti qualcosa di scuro su un lato, basta una coperta su una sedia. Questo ridà una direzione all'immagine.
Entrambe le cose insieme non costano nulla e cambiano di più che passare a una fotocamera più costosa.
Se fuori è buio
La sera vale: una fonte di luce, non tre. Prendi una lampada, spegni tutte le altre e mettila di lato, più o meno all'altezza della testa. Un foglio di carta da forno davanti rende la luce più morbida. Una lampada da terra puntata contro una parete bianca o il soffitto dà una luce ampia e molto favorevole, perché tutta la parete diventa fonte di luce.
Cosa evitare: il telefono in mano come fonte di luce, la televisione alle spalle, e luci colorate se vuoi tonalità della pelle naturali. La luce colorata è una scelta di stile, non un'illuminazione, quindi decidi prima se la vuoi.
Come capire che sei sulla strada giusta
Tre controlli veloci, prima di fare venti scatti che poi cancellerai tutti:
- Gli occhi. Se la fonte di luce si riflette come un piccolo punto luminoso negli occhi, la direzione è giusta. Se manca quel punto, la luce arriva da troppo dietro o da troppo in alto.
- Il bordo dell'ombra. Dovrebbe esserci una transizione morbida tra luce e ombra, non uno stacco netto e nemmeno un impasto completamente uniforme.
- La pelle. Niente lucido su fronte e naso. Se luccica, la fonte di luce è troppo diretta: spostala più di lato oppure rendila più morbida.
E dopo la regola più semplice di tutte: fai una foto, guardala, cambia esattamente una cosa, fai la successiva. Non tre cose insieme, altrimenti dopo non sai cosa ha funzionato.
Perché questo si ripaga subito
La luce è la parte che distingue gli scatti pagati da quelli gratuiti. La differenza tra un'istantanea e qualcosa che qualcuno compra raramente riguarda il soggetto e quasi sempre l'illuminazione. Per le immagini di anteprima vale il doppio: è l'unica impressione che qualcuno riceve prima di decidere di comprare. Perché altrimenti le offerte restano invendute sta in Perché il tuo Drop non vende.
Il secondo motivo è invisibile: da noi le anteprime vengono ridotte di qualità e pixelate, e in questa riduzione resta più efficacia da un'immagine ben illuminata che da una illuminata in modo piatto.
Domande frequenti
No. Una finestra è più grande e più morbida di qualsiasi ring light in quella fascia di prezzo. Un accessorio conviene solo quando vuoi lavorare indipendentemente dall'ora del giorno e dal meteo.
Cielo coperto va bene tutto il giorno, altrimenti la mattina o il tardo pomeriggio. A mezzogiorno il sole è troppo alto e la luce diventa dura.
Probabilmente la luce arriva frontalmente, per esempio da flash o ring light. Mettiti di lato rispetto alla fonte di luce, così l'immagine guadagna profondità.
Solo in parte. Un'immagine troppo scura diventa granulosa quando la schiarisci, e le ombre senza dettaglio restano vuote. Farlo bene prima è sempre meno lavoro.